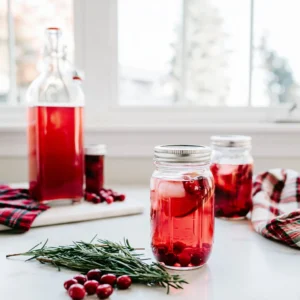
If you love the tart and refreshing taste of cranberry juice, you might be curious about how to make your own at home. Canning cranberry juice is an excellent way to enjoy this delectable beverage year-round. Whether you want to savor it during the holiday season or enjoy its health benefits throughout the year, making your own cranberry juice can be both satisfying and rewarding. In this comprehensive guide, we’ll walk you through the entire process, from selecting the freshest cranberries to properly canning your juice for long-term storage.
Why You’ll Love This Recipe
There are numerous reasons to love canning cranberry juice. For starters, the process allows you to control the ingredients, ensuring that your juice is free from preservatives and artificial flavors often found in store-bought varieties. Plus, you can customize the sweetness and acidity to suit your taste preferences. Here are several compelling reasons to try this recipe:
- Health Benefits: Cranberries are packed with antioxidants and vitamins, particularly vitamin C, which can help boost your immune system and promote overall health.
- Cost-Effective: Purchasing fresh cranberries when they’re in season is usually more affordable than buying bottled juice. Plus, you can make a large batch that lasts for months.
- Delicious Flavor: Homemade cranberry juice has a vibrant, fresh taste that store-bought options simply can’t match. You can also experiment with flavors by adding spices or other fruits.
- Sustainable Choice: By canning your own juice, you’re reducing packaging waste and contributing to a more sustainable lifestyle.
- Gift Idea: Canned cranberry juice makes a thoughtful, homemade gift for friends and family during the holidays or special occasions.
Why You Should Try This Recipe
This canning cranberry juice recipe is not only easy to follow, but it also provides a great opportunity to explore the art of canning. Here are some reasons why you should give this recipe a try:
- Engaging Activity: Canning is a fun and engaging activity that can be enjoyed alone or with family and friends. It’s a great way to spend a day in the kitchen while creating something delicious.
- Preservation Skills: Learning how to can your own juice gives you valuable preservation skills that can be applied to other fruits and vegetables.
- Seasonal Enjoyment: Canning allows you to capture the essence of cranberries during their peak season, so you can enjoy that fresh flavor throughout the year.
- Customizable: This recipe can be easily adapted to your preferences. Add spices like cinnamon or cloves for a warm, festive flavor, or mix in other fruits such as apples or oranges for a unique twist.
- Family Tradition: Canning can be a wonderful tradition to pass down through generations. Involving children or grandchildren in the process can create lasting memories.
Ingredients and Utensils Needed
Before you start the canning process, gather all the necessary ingredients and tools. Here’s a detailed list to ensure your success:
Ingredients
- Fresh Cranberries: 4 cups (about 1 pound)
- Water: 8 cups (adjust based on your desired juice concentration)
- Sugar: 1/2 to 1 cup (optional, to taste)
- Lemon Juice: 1/4 cup (optional, for added acidity)
Recommended Tools and Utensils
Having the right tools on hand will make the canning process smoother and more enjoyable. Here’s what you’ll need:
- Large Pot: For boiling the cranberries and water.
- Masher: To help break down the cranberries and release their juice.
- Fine Mesh Sieve or Cheesecloth: For straining the juice and removing solids.
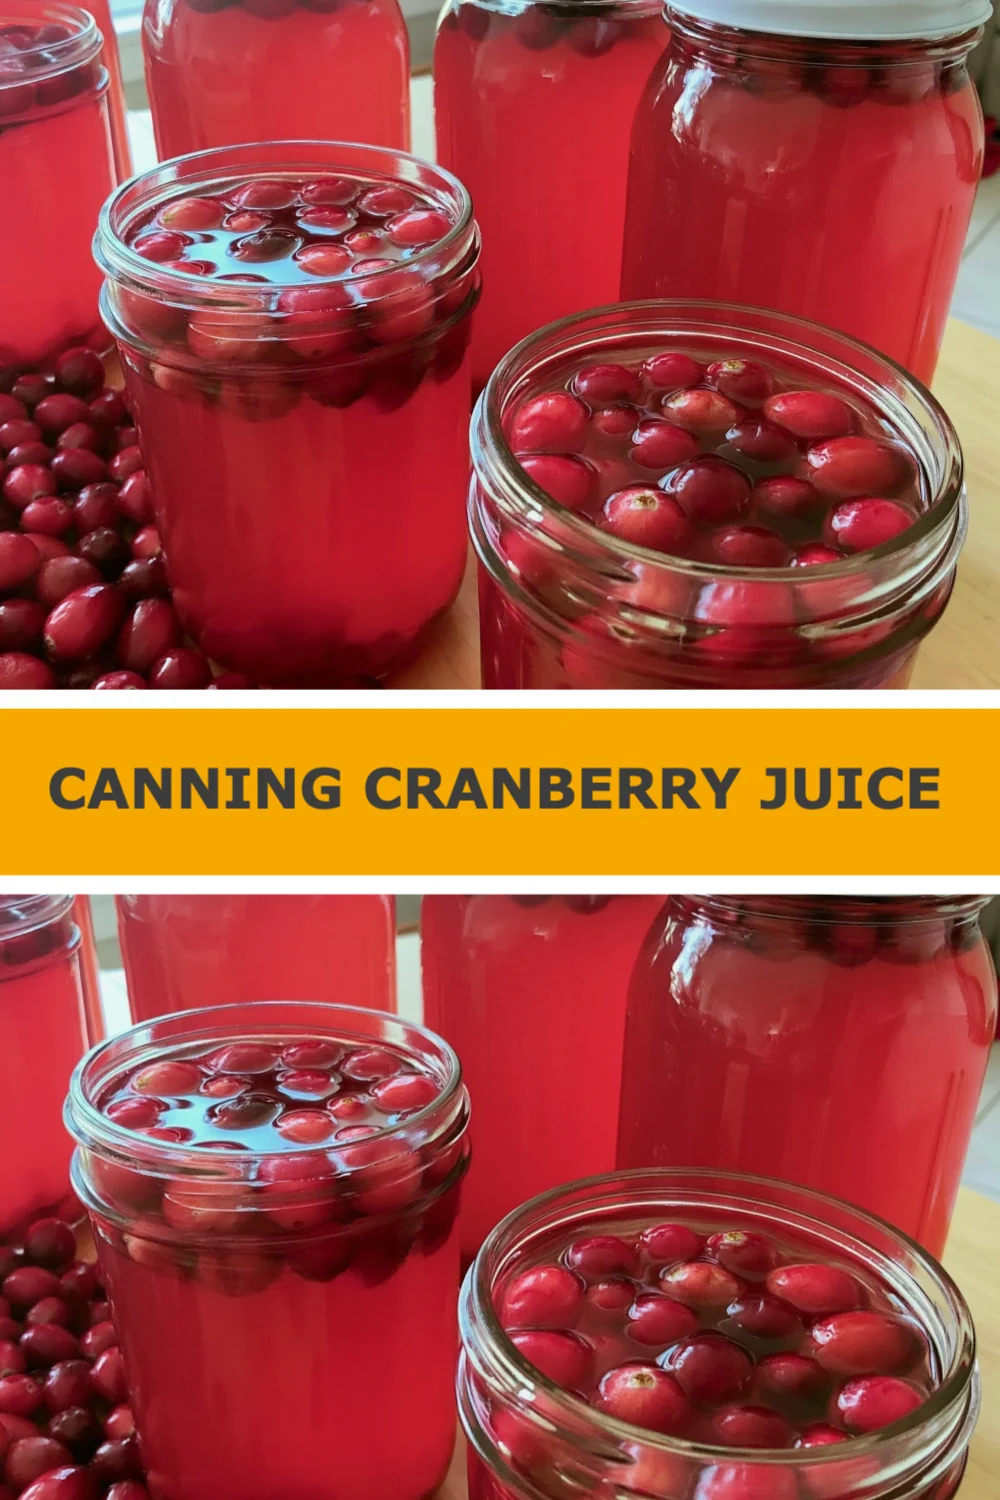
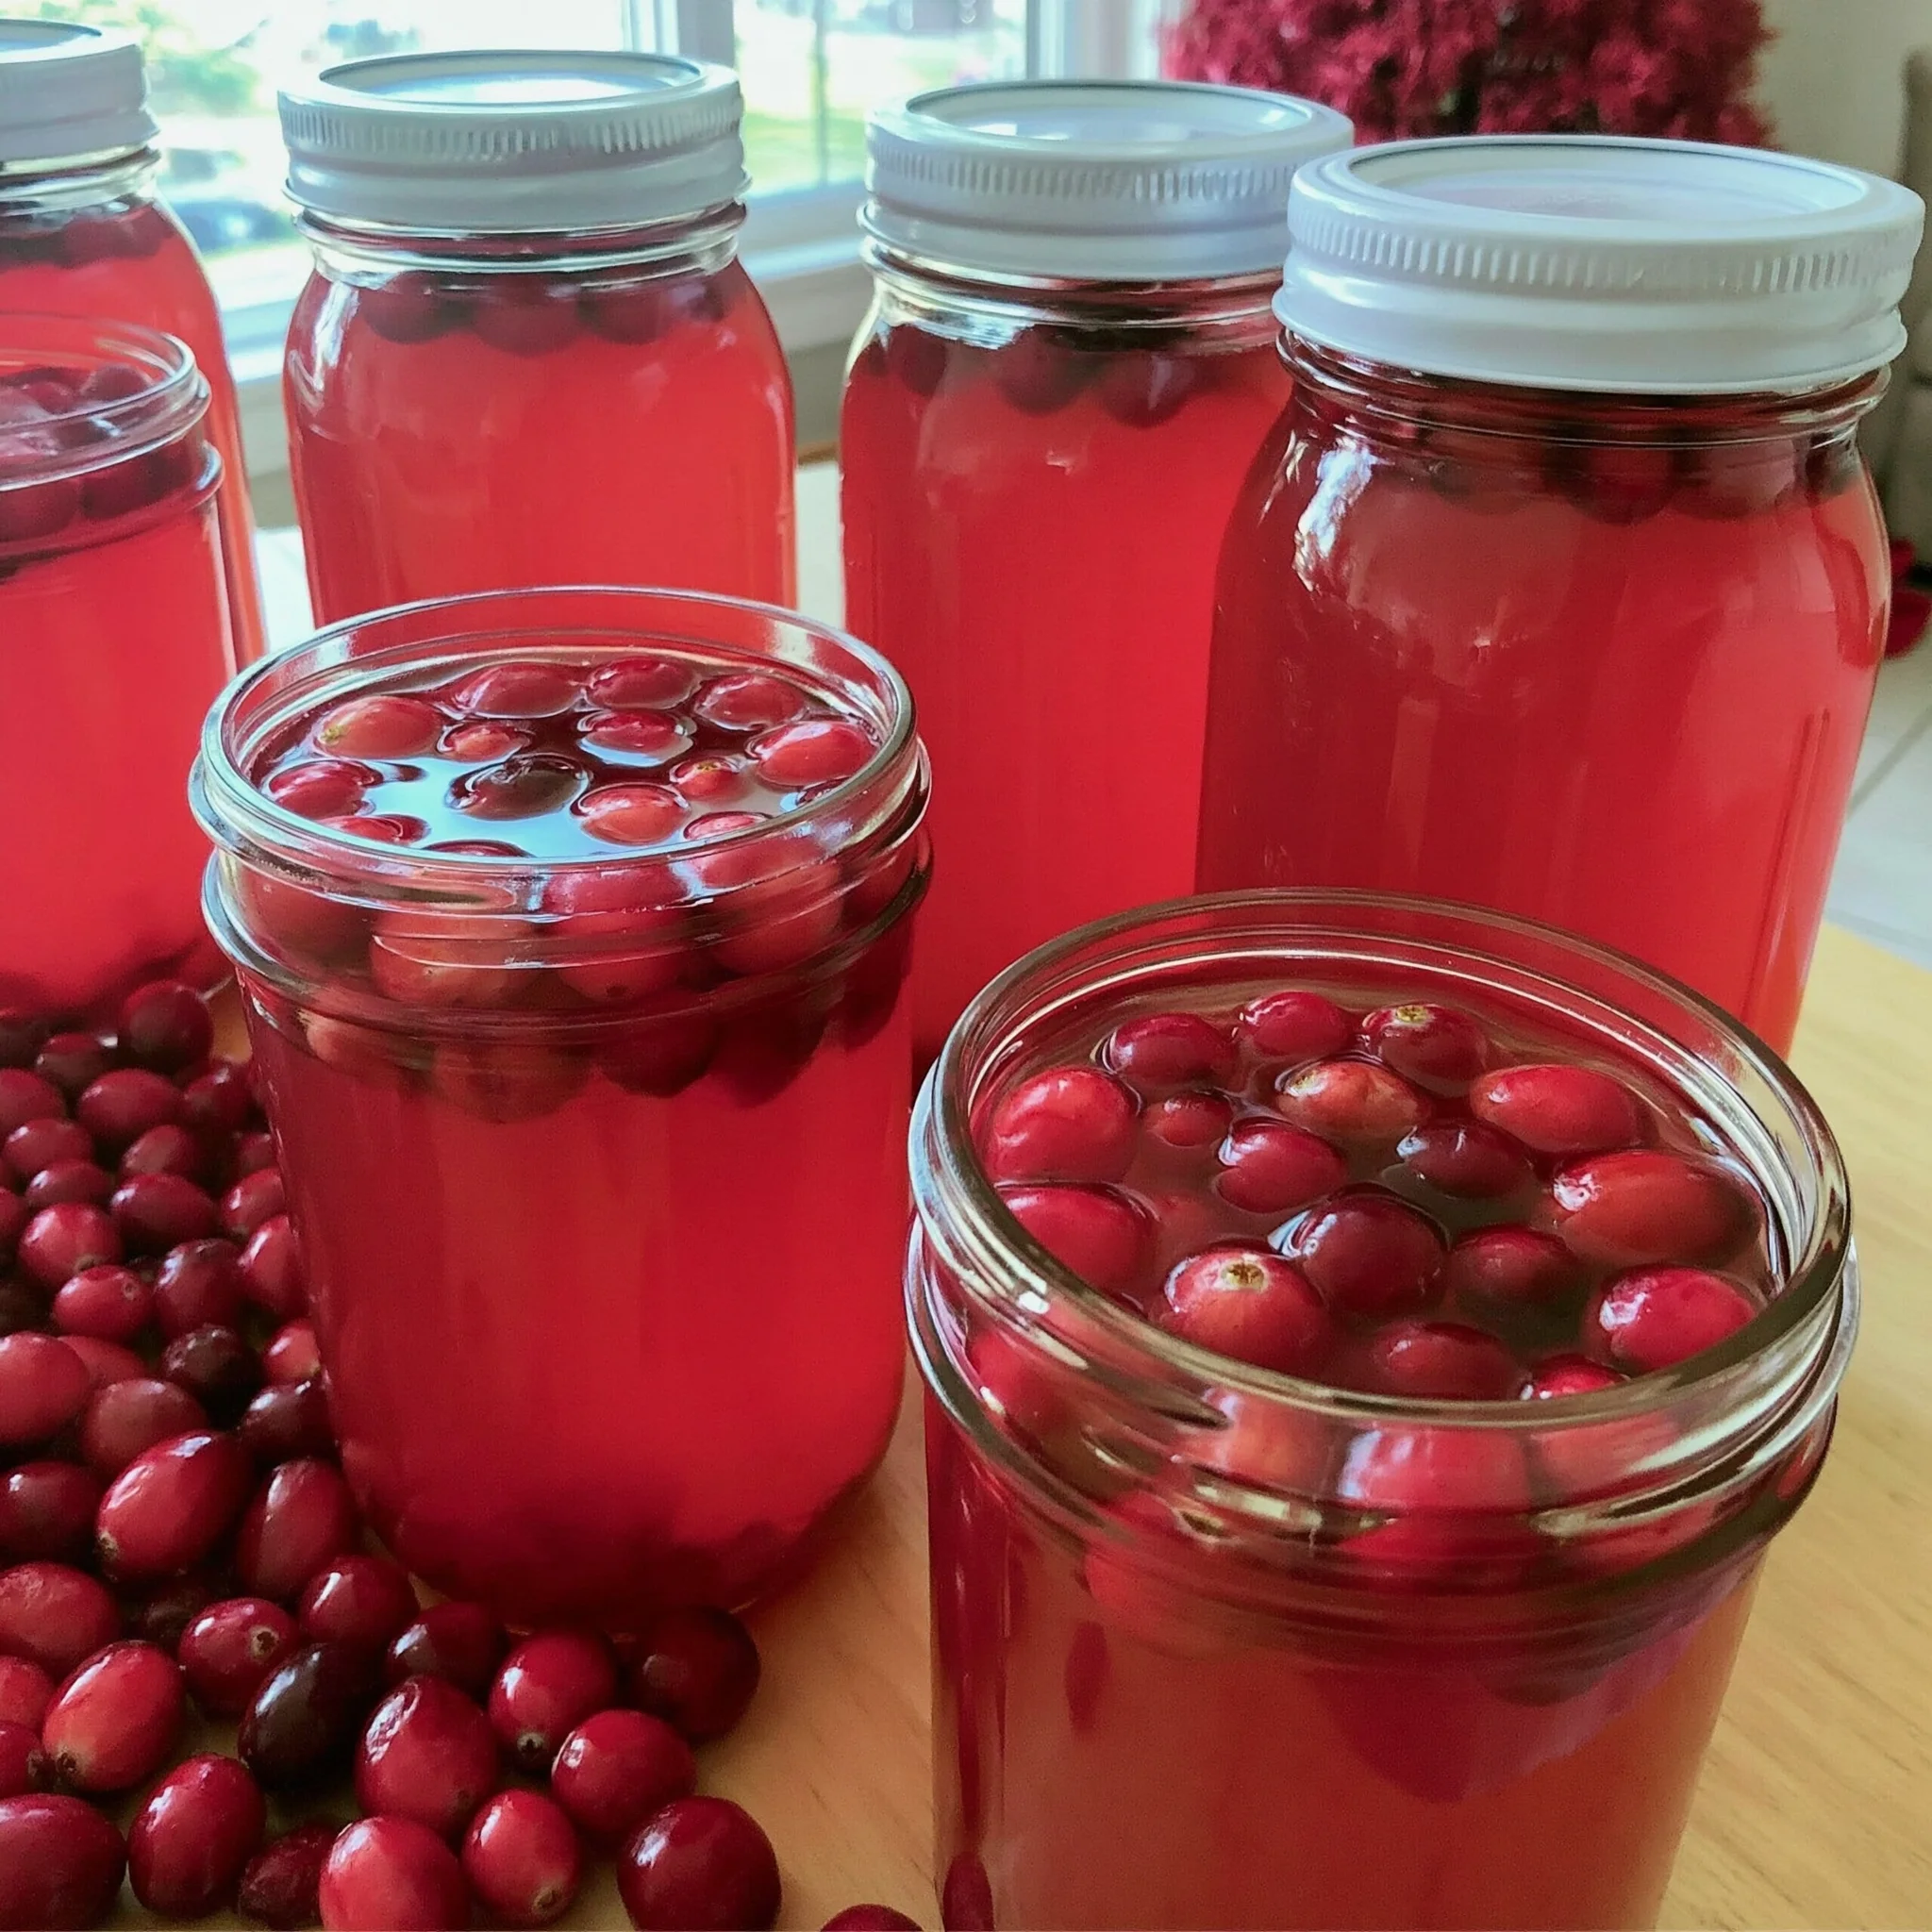
- Clean Containers: Glass jars that are appropriate for canning (pint or quart-sized).
- Jar Lifter: To safely remove hot jars from the water bath.
- Canning Funnel: To help pour the juice into jars without spilling.
- Cooking Thermometer: To ensure the water bath reaches the correct temperature.
- Clean Cloth: For wiping the jar rims before sealing.
Detailed Recipe Steps
Now that you have all your ingredients and tools ready, let’s dive into the step-by-step process of canning cranberry juice:
Step 1: Prepare the Cranberries
Start by rinsing your fresh cranberries under cold water. While rinsing, remove any stems, leaves, or damaged berries. This ensures that only the best fruit goes into your juice.
Step 2: Combine Ingredients
In a large pot, combine the cleaned cranberries with water using a 1:2 ratio (1 part cranberries to 2 parts water). For instance, if you are using 4 cups of cranberries, you should add 8 cups of water.
Step 3: Bring to a Boil
Place the pot over medium heat and bring the mixture to a boil. Once boiling, reduce the heat to a simmer. Cook the cranberries for about 10-15 minutes, or until the berries burst open and soften.
Step 4: Mash the Cranberries
After the cranberries have cooked, use a masher to gently mash them. This helps to release even more juice from the berries. Be careful not to over-mash; you want to break them down without creating a puree.
Step 5: Strain the Juice
Once mashed, strain the mixture through a fine mesh sieve or cheesecloth into a clean container. Use a spoon or spatula to press down on the solids, extracting as much juice as possible. Discard the leftover pulp and seeds.
Step 6: Sweeten and Flavor
If desired, add sugar and lemon juice to the strained juice to taste. Stir until the sugar is completely dissolved. The amount of sugar is entirely up to your personal preference—taste as you go!
Step 7: Prepare for Canning
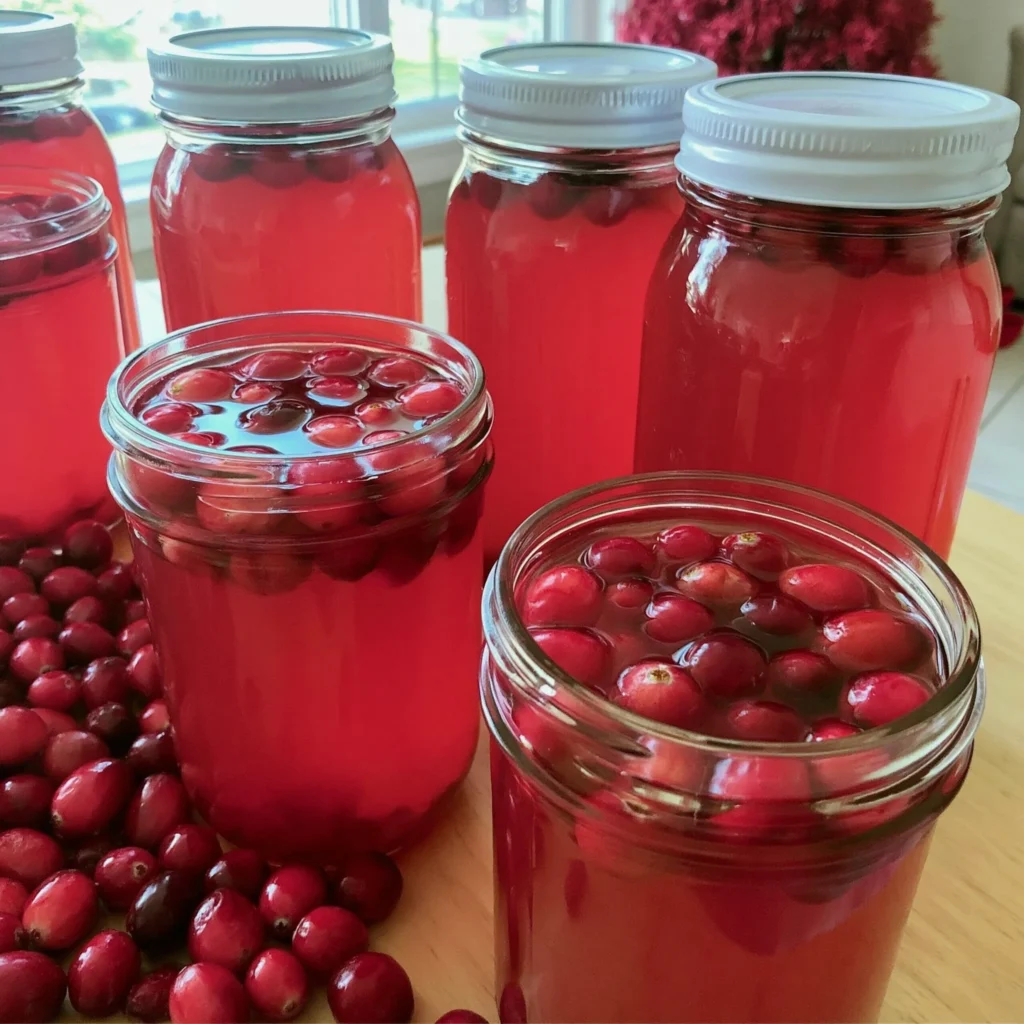
Pour the juice into sterilized canning jars, leaving about 1/2 inch of headspace at the top. This space is necessary for the juice to expand during processing.
Step 8: Seal the Jars
Wipe the rims of the jars with a clean cloth to ensure a proper seal. Place sterilized lids on top and screw on the metal bands until they are fingertip-tight. This step is crucial to prevent any leakage during the canning process.
Step 9: Process the Jars
To ensure preservation, process the jars in a boiling water bath for 10-15 minutes. Make sure the jars are fully submerged in water, with at least an inch of water above the lids.
Step 10: Cool the Jars
After processing, carefully remove the jars from the water bath using a jar lifter. Let them cool completely on a clean kitchen towel or cooling rack. As they cool, you should hear the satisfying ‘pop’ of the lids sealing.
Step 11: Check Seals and Store
Once cooled, check the seals by pressing down in the center of each lid. If it doesn’t pop back, the jar is sealed. Store any unsealed jars in the refrigerator for immediate use, and keep sealed jars in a cool, dark place.
Tips and Variations
While this recipe is straightforward, here are some tips and variations to enhance your canning experience:
- Alternative Sweeteners: Feel free to experiment with alternative sweeteners like honey, agave syrup, or stevia if you want a healthier option.
- Spiced Cranberry Juice: Add cinnamon sticks, cloves, or star anise during the cooking process for a spiced version that’s perfect for the holidays.
- Fruit Combinations: Incorporate other fruits like apples or oranges to create a unique flavor profile. Just remember to adjust the water content accordingly.
- Storage Tips: Store your jars in a dark, cool place away from direct sunlight. Properly canned and sealed juice can last for up to a year.
- Avoiding Common Mistakes: Be sure to use sterilized jars and lids to prevent contamination. Always wipe the rims of jars to ensure a proper seal.
Nutritional Values and Benefits
Cranberries not only taste great, but they also offer a variety of health benefits. Here’s a breakdown of some key nutritional information:
- Calories: Approximately 46 calories per cup of unsweetened cranberry juice.
- Carbohydrates: About 12 grams, with beneficial sugars if sweetened naturally.
- Fiber: Cranberries provide dietary fiber, which is essential for digestive health.
- Vitamins: Rich in vitamin C and vitamin K, cranberries can support your immune system and bone health.
- Antioxidants: Cranberries are high in antioxidants, which can help reduce inflammation and lower the risk of chronic diseases.
By incorporating cranberry juice into your diet, you can enjoy its health benefits while indulging in its unique flavor. It can also be a great addition to smoothies, salad dressings, or marinades.
Frequently Asked Questions
What is the best way to store canned cranberry juice?
Store canned cranberry juice in a cool, dark place. Properly sealed jars can last up to a year, while unsealed jars should be refrigerated and consumed within a week.
Can I use frozen cranberries for canning?
Yes, you can use frozen cranberries! Just thaw them before use, and they can be processed just like fresh cranberries.
Is it necessary to add sugar to cranberry juice?
Adding sugar is optional and depends on your taste preferences. You can make unsweetened cranberry juice if you prefer a more tart flavor.
What if my jars don’t seal properly?
If your jars do not seal, refrigerate them immediately and consume the juice within a week. You can also reprocess the jars if you wish.
How can I tell if my cranberry juice is bad?
If the lid is bulging, leaking, or if the juice has an off smell or taste, do not consume it. Always inspect your jars before using.
Conclusion
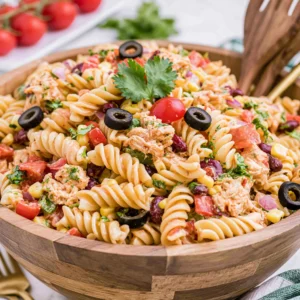
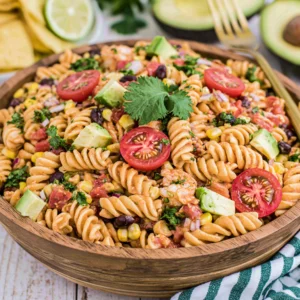
Canning cranberry juice is a delightful way to preserve the fresh flavors of cranberries and enjoy their health benefits throughout the year. With just a few simple ingredients and some basic canning techniques, you can create a delicious beverage that is perfect for any occasion. We hope this guide has inspired you to try your hand at canning cranberry juice at home. Don’t forget to share your experiences, and feel free to comment below. For more delicious recipes, check out Deviled Eggs Pasta Salad or Street Corn Chicken Salad for treats you will love!
If you’re looking for more inspiration, head over to our Pinterest page for a wide array of recipes and canning ideas!
Canning Cranberry Juice
Ingredients
Equipment
Method
- Step 1: Start by rinsing your fresh cranberries under cold water. Remove any stems, leaves, or damaged berries.
- Step 2: In a large pot, combine the cleaned cranberries with water using a 1:2 ratio. For 4 cups of cranberries, add 8 cups of water.
- Step 3: Place the pot over medium heat and bring the mixture to a boil. Once boiling, reduce the heat to a simmer and cook for about 10-15 minutes until the berries burst.
- Step 4: Use a masher to gently mash the cranberries to release more juice. Don't over-mash; you want to break them down without creating a puree.
- Step 5: Strain the mixture through a fine mesh sieve or cheesecloth into a clean container. Press down on the solids to extract as much juice as possible.
- Step 6: If desired, add sugar and lemon juice to the strained juice to taste, stirring until the sugar is completely dissolved.
- Step 7: Pour the juice into sterilized canning jars, leaving about 1/2 inch of headspace at the top.
- Step 8: Wipe the rims of the jars with a clean cloth for a proper seal. Place sterilized lids on top and screw on the metal bands until fingertip-tight.
- Step 9: Process the jars in a boiling water bath for 10-15 minutes, ensuring they are fully submerged with at least an inch of water above the lids.
- Step 10: Carefully remove the jars from the water bath using a jar lifter and let them cool completely.
- Step 11: Once cooled, check the seals by pressing down in the center of each lid. Store any unsealed jars in the refrigerator for immediate use.