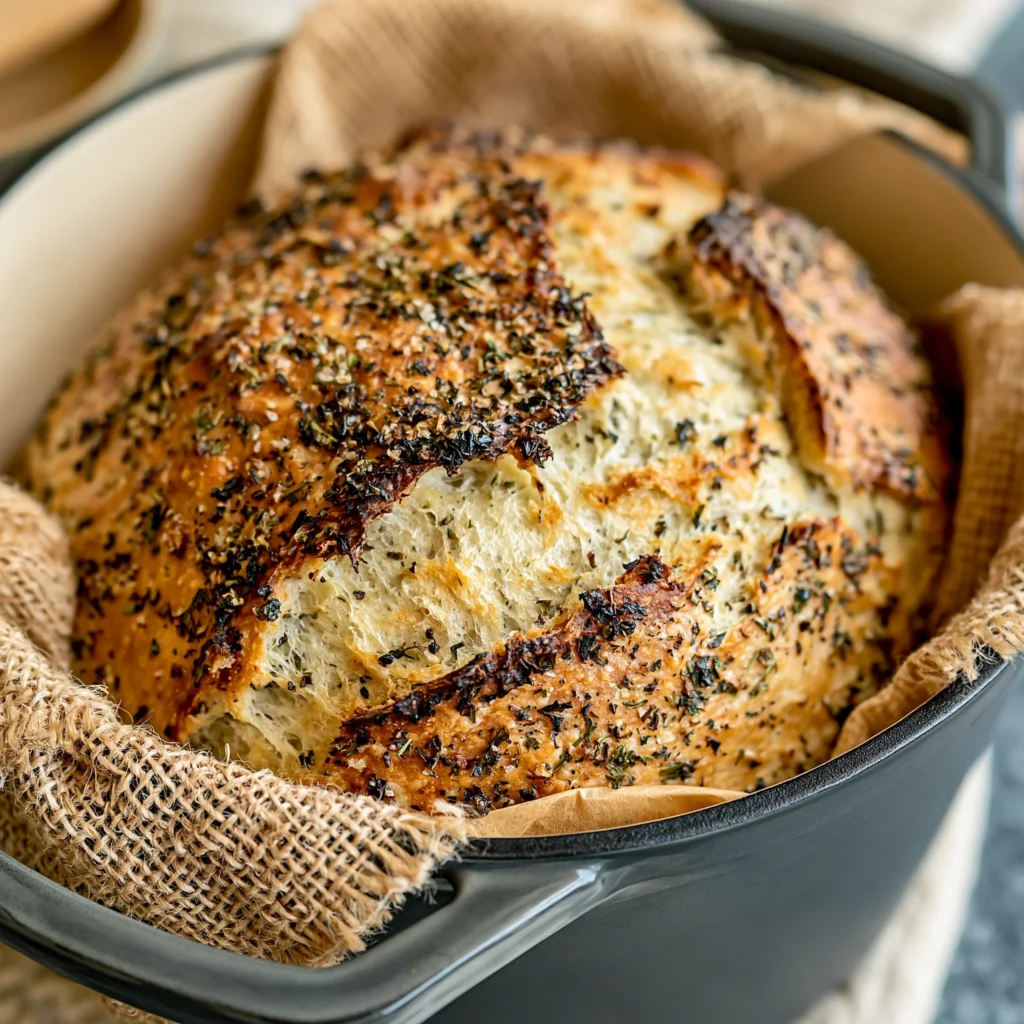
Welcome to the world of artisanal bread making! If you’ve ever dreamed of baking your own bread but were put off by the thought of kneading dough and intricate techniques, then the No Knead Garlic Herb Dutch Oven Bread Recipe with Crispy Crust is just for you. This simple yet rewarding recipe allows you to create a beautiful loaf of bread with minimal effort, all while infusing it with the delightful flavors of garlic and fresh herbs. Imagine pulling a golden-brown loaf from the oven, its crispy crust crackling as you slice into it, revealing a soft, airy interior. This bread is perfect for accompanying meals, making sandwiches, or enjoying fresh with a bit of butter. Let’s dive into this easy recipe that will have you baking like a pro in no time!
Why You’ll Love This Recipe
There are countless reasons to love the No Knead Garlic Herb Dutch Oven Bread Recipe with Crispy Crust. First and foremost, this bread requires no kneading, which means you can spend more time enjoying the process rather than laboring over the dough. The long fermentation time enhances the flavor and texture, giving you a bread that tastes like it was made by a seasoned baker. The addition of freshly minced garlic and herbs elevates the bread, creating an aromatic experience that will tantalize your taste buds.
This recipe is also incredibly versatile. You can easily customize it with different herbs or even add ingredients like cheese or sun-dried tomatoes for a unique twist. The dough can be prepared the night before, allowing you to bake fresh bread in the morning or any time you desire. Plus, baking in a Dutch oven creates a steamy environment that results in a crispy crust and a chewy, soft interior that is simply irresistible.
Another reason to love this recipe is that it’s perfect for both novice and experienced bakers. The straightforward instructions and forgiving nature of the dough make it a great starting point for those new to bread making. Yet, the end result is impressive enough to wow guests at a dinner party. Serve it alongside a hearty soup or salad, or simply enjoy it on its own with olive oil for dipping. Trust me, once you’ve tried this bread, you’ll be hooked!
Why You Should Try This Recipe
The No Knead Garlic Herb Dutch Oven Bread Recipe with Crispy Crust is not just another bread recipe; it’s an experience. Baking bread at home connects you to the culinary traditions of our ancestors, offering a sense of accomplishment that few other kitchen endeavors can match. The smell of freshly baked bread wafting through your home is a comfort that cannot be underestimated. It’s an invitation to gather around the table with family and friends, creating memories over delicious food.
This particular recipe is designed to fit into your busy lifestyle. With just a few simple ingredients and minimal hands-on time, you can create a stunning loaf that doesn’t require constant attention. The long resting time allows for a hands-off approach, making it ideal for those who juggle multiple responsibilities. You can mix the dough before bed and wake up to fresh bread for breakfast!
Moreover, the use of a Dutch oven is a game-changer. It allows for even heat distribution and traps steam, creating the perfect conditions for a bakery-quality crust. You don’t need fancy equipment or skills; just a reliable Dutch oven and a little patience. This bread is also a fantastic platform for creativity. Whether you want to experiment with different herbs or incorporate other flavors, the possibilities are endless.
Ingredients and Utensils Needed
To successfully make the No Knead Garlic Herb Dutch Oven Bread Recipe with Crispy Crust, you will need a few essential ingredients and utensils. Here’s a detailed breakdown:
Ingredients
- 3 cups all-purpose flour
- 1 ½ teaspoons salt
- ½ teaspoon instant yeast
- 1 ½ cups warm water (about 110°F or 43°C)
- 3 cloves garlic, minced
- 2 tablespoons fresh herbs (such as rosemary, thyme, or parsley), chopped
- Extra flour for dusting
Recommended Utensils
- Large mixing bowl: For mixing the dough.
- Wooden spoon or spatula: For stirring the dough.
- Plastic wrap or kitchen towel: To cover the bowl during the resting period.
- Well-floured surface: For shaping the dough.
- Dutch oven: A heavy pot with a lid for baking.
- Parchment paper: Optional, for easier bread removal.
- Wire rack: For cooling the bread after baking.
With these ingredients and tools, you’re well on your way to creating the most delightful garlic herb bread that will impress everyone!
Detailed Recipe Steps
Now that you have your ingredients and utensils ready, let’s walk through the No Knead Garlic Herb Dutch Oven Bread Recipe with Crispy Crust step by step. Each step is crucial to achieving that perfect loaf, so let’s dive in!
Step 1: Combine Dry Ingredients
In a large mixing bowl, combine 3 cups of all-purpose flour, 1 ½ teaspoons of salt, and ½ teaspoon of instant yeast. Add the 3 cloves of minced garlic and 2 tablespoons of chopped fresh herbs. Mix these dry ingredients together until they are well combined. This step is important as it ensures that the yeast, salt, and flavorings are evenly distributed throughout the flour.
Step 2: Add Warm Water
Now, slowly pour in 1 ½ cups of warm water to the dry mixture. Use a wooden spoon or spatula to stir the ingredients together until a shaggy dough forms. The dough will be sticky and rough, but that’s exactly what you want. Make sure there are no dry patches of flour left; everything should be well incorporated.
Step 3: Let It Rest
Cover the bowl with plastic wrap or a clean kitchen towel and let it rest at room temperature for 12 to 18 hours. This long fermentation process allows the dough to develop flavor and strength, resulting in a better texture. You’ll know it’s ready when the surface is dotted with bubbles and the dough has roughly doubled in size.
Step 4: Preheat the Oven
When your dough is ready, preheat your oven to 450°F (232°C). Place your Dutch oven (with the lid) in the oven to heat for about 30 minutes. Preheating the Dutch oven is crucial for achieving that crispy crust.
Step 5: Shape the Dough
While the Dutch oven is heating, turn the dough out onto a well-floured surface. Use your hands to gently shape it into a ball. Don’t worry about perfection; just aim for a round shape. If the dough is too sticky, sprinkle a little extra flour on top and your hands to prevent sticking.
Step 6: Transfer the Dough
Carefully remove the hot Dutch oven from the oven, using oven mitts to protect your hands. If you desire, you can line the pot with parchment paper for easier removal later. Gently transfer the shaped dough into the pot.
Step 7: Bake with the Lid
Cover the pot with the lid and place it back in the oven. Bake for 30 minutes. This initial baking phase with the lid on traps steam, which helps to create that beautiful crust that you’re looking for.
Step 8: Bake Without the Lid
After 30 minutes, carefully remove the lid from the Dutch oven. Bake for an additional 15 to 20 minutes, or until the bread has developed a deep golden-brown crust. Keep an eye on it to prevent over-baking.
Step 9: Cool Before Slicing
Once the bread is baked to perfection, carefully remove it from the Dutch oven and let it cool on a wire rack. This step is essential; slicing the bread while it’s still hot can result in a gummy texture. Allow it to cool for at least 30 minutes before slicing into it.
By following these detailed steps, you’ll create a loaf of bread that not only looks fantastic but tastes incredible as well. Enjoy the process and savor the delightful aromas that fill your kitchen!
Tips and Variations
To ensure your No Knead Garlic Herb Dutch Oven Bread Recipe with Crispy Crust turns out perfectly every time, here are some tips and variations you can try:
Alternative Ingredients
- Flour: While all-purpose flour works best, you can experiment with bread flour for a chewier texture or whole wheat flour for a nuttier flavor.
- Herbs: Feel free to mix and match herbs! Basil, oregano, or even a bit of dried Italian seasoning can work beautifully.
- Garlic: Roasted garlic can add a sweeter, more mellow flavor compared to raw garlic.
- Add-ins: Consider adding cheese, olives, or sun-dried tomatoes to the dough for a flavor twist.
Avoid Common Mistakes
- Don’t rush the fermentation: Allowing the dough to rest for the full 12 to 18 hours is key to developing flavor. Skipping this step can result in dense bread.
- Check your oven temperature: Ovens can vary, so use an oven thermometer to ensure you’re baking at the correct temperature.
- Be careful with flour: While it’s important to prevent sticking, adding too much flour during shaping can lead to a dry loaf. Use just enough to keep it manageable.
With these tips and variations, you can make this recipe your own and enjoy countless variations of this delicious bread!
Nutritional Values and Benefits
Understanding the nutritional values of the No Knead Garlic Herb Dutch Oven Bread Recipe with Crispy Crust can help you make informed choices about your diet. Here’s a breakdown of the nutrition per serving (assuming 12 servings per loaf):
- Calories: Approximately 150-200 calories per slice
- Protein: 4-6 grams
- Fat: 1 gram
- Carbohydrates: 30-35 grams
This bread provides a good source of carbohydrates, which are essential for energy. The use of garlic not only adds flavor but also offers several health benefits, including boosting the immune system and reducing inflammation. Fresh herbs contribute antioxidants and can enhance overall health. Enjoying homemade bread like this can be part of a balanced diet, especially when paired with nutritious ingredients like olive oil or fresh vegetables.
Frequently Asked Questions
Frequently Asked Questions
Can I use whole wheat flour instead of all-purpose flour?
Yes, you can use whole wheat flour, but it may result in a denser loaf. Consider using a mix of whole wheat and all-purpose flour for the best texture.
How do I store the bread after baking?
Store the bread at room temperature in a paper bag or wrapped in a kitchen towel. Avoid storing it in plastic, as this can make the crust soggy.
Can I freeze this bread?
Absolutely! Wrap the cooled bread tightly in plastic wrap and then in aluminum foil before freezing. It can last up to three months in the freezer.
What can I serve with this bread?
This versatile bread pairs wonderfully with soups, salads, or simply with olive oil and balsamic vinegar for dipping. It also makes excellent sandwiches!
Conclusion
In conclusion, the No Knead Garlic Herb Dutch Oven Bread Recipe with Crispy Crust is a fantastic way to bring the joy of baking into your home without the hassle of traditional bread-making methods. With just a few simple ingredients and a little bit of patience, you can create a loaf that is not only delicious but also beautiful. We invite you to share your thoughts on this recipe in the comments below or share it with friends who appreciate good bread. For more delicious recipes, check out Deviled Eggs Pasta Salad or Cheesy Baked Orzo for treats you will love! Happy baking!
For more delightful recipes and inspirations, don’t forget to follow us on Pinterest!
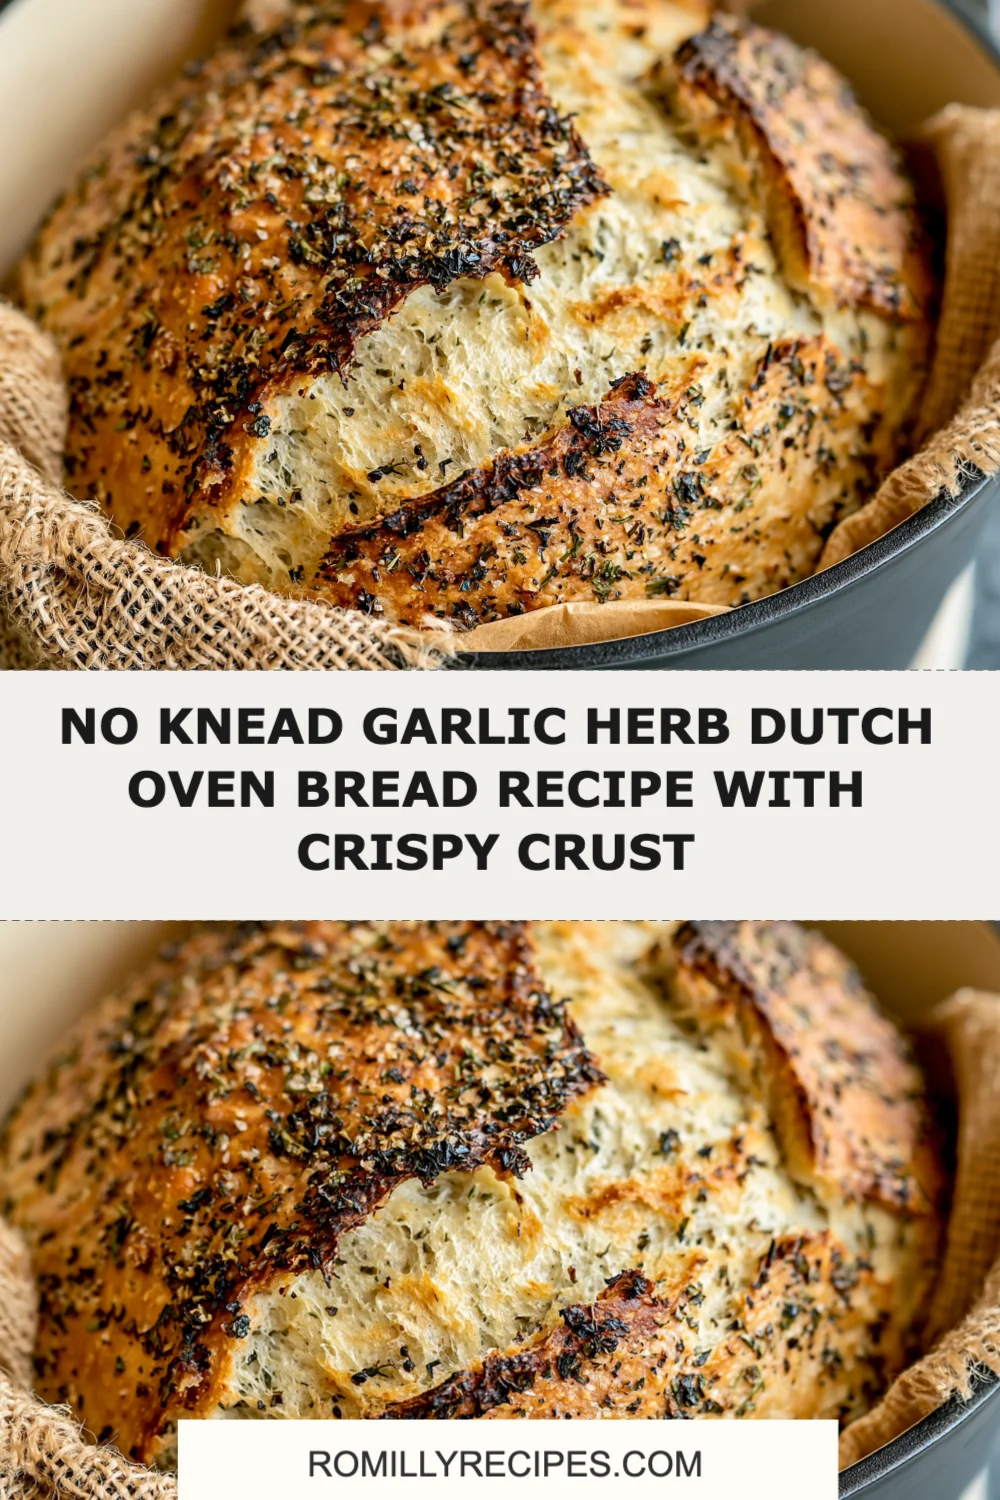

No Knead Garlic Herb Dutch Oven Bread Recipe with Crispy Crust
Ingredients
Equipment
Method
- Step 1: In a large mixing bowl, combine 3 cups of all-purpose flour, 1 ½ teaspoons of salt, and ½ teaspoon of instant yeast. Add the 3 cloves of minced garlic and 2 tablespoons of chopped fresh herbs. Mix these dry ingredients together until they are well combined.
- Step 2: Slowly pour in 1 ½ cups of warm water to the dry mixture. Use a wooden spoon or spatula to stir the ingredients together until a shaggy dough forms.
- Step 3: Cover the bowl with plastic wrap or a clean kitchen towel and let it rest at room temperature for 12 to 18 hours.
- Step 4: Preheat your oven to 450°F (232°C) and place your Dutch oven (with the lid) in the oven to heat for about 30 minutes.
- Step 5: Turn the dough out onto a well-floured surface and shape it into a ball.
- Step 6: Carefully remove the hot Dutch oven from the oven and gently transfer the shaped dough into the pot.
- Step 7: Cover the pot with the lid and place it back in the oven. Bake for 30 minutes.
- Step 8: After 30 minutes, carefully remove the lid and bake for an additional 15 to 20 minutes.
- Step 9: Once the bread is baked, carefully remove it from the Dutch oven and let it cool on a wire rack for at least 30 minutes before slicing.